Installing a shower panel is quite easy. With the right tools and guidance, you can be done and enjoying your new shower panel in less than an hour. This guide is installing a shower panel, which is a series of shower heads mounted to the wall and ceiling, not shower wall panels.
Choose the installation location, drill the mounting holes, install the mounting bracket, attach the hand water piping, attach the shower arm, connect the water feed tubes to the mains, then mount the shower panel to install the shower panel in your shower. This process takes 30 minutes to an hour.
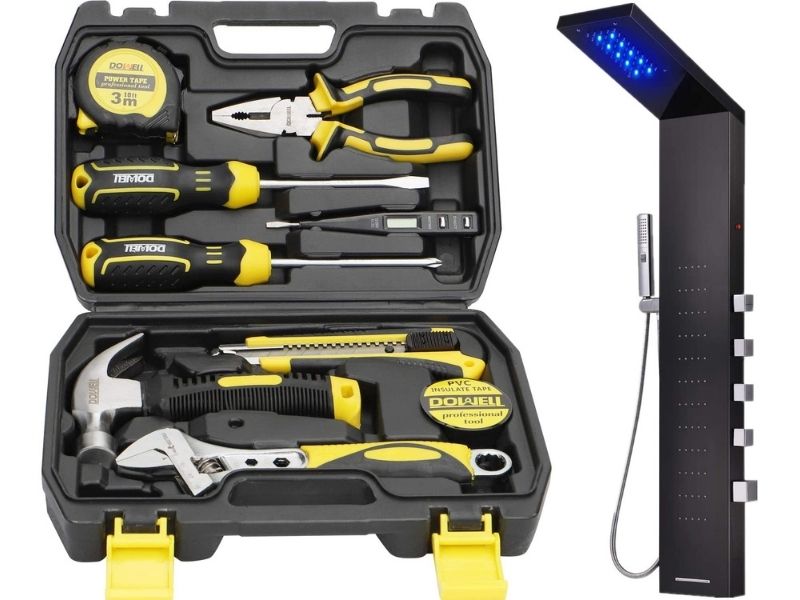
The best shower panel is the Blue Ocean 52″ Aluminum SPA392M. It’s made of high-quality aluminum that doesn’t rust, keeping its look for a long time. It has 8 adjustable nozzles with 4 functions for the showers. It works with most home fixtures making it easy to install.
What you need
For this procedure, you need a drill, pliers, mounting hardware, adjustable wrench, sealant (silicone) or caulk, level, piece of cloth, marker pen, screwdriver, and Teflon tape.
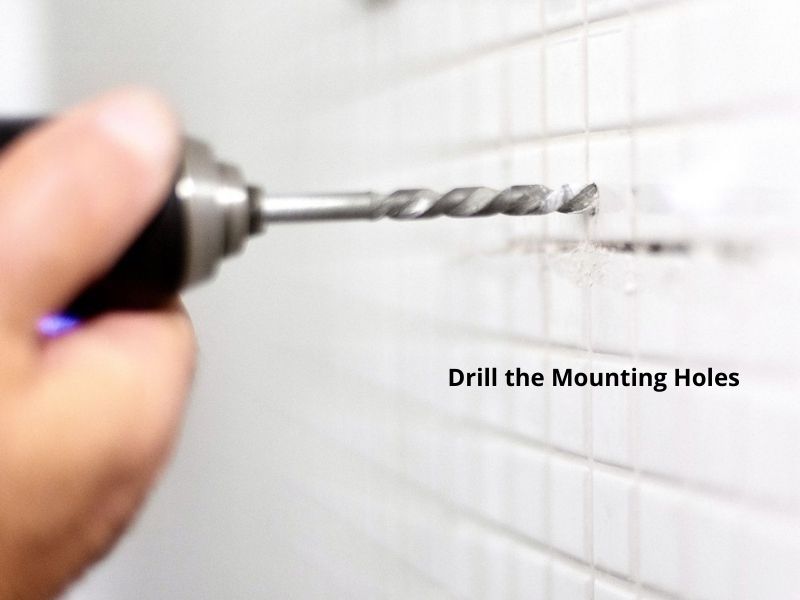
Ensure you have the right size and type of drill bit for the wall on which you will install the shower panel. This will be found in the panel’s manual. For tiled walls, go for a tile and glass drill bit and use as low a speed as possible to avoid cracking the wall.
My advice is that you’re better off enlisting the services of a plumber if this is your first plumbing work. With the best shower panel, you’ll soon be enjoying great sessions in the shower after this.
Shower panel installation procedure
A majority of shower panels come already assembled, and thus, the need to assemble them isn’t a matter of priority. In this guide, the focus is on a retrofit shower panel. This is the type that is fitted after the house is already constructed. Non-retrofit ones require a whole different installation procedure. These installation steps will take you from 30 minutes to an hour to complete.
The shower panel installation system is as follows:
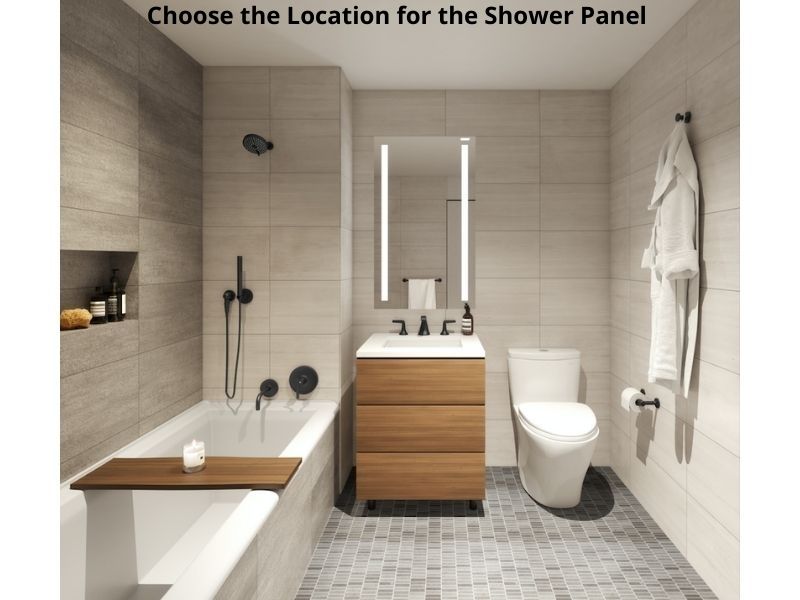
1. Choose the installation location
Find the appropriate location for your shower panel and mark on the wall how big the panel is. Basically, hold up the panel against the wall, then mark its edges with a marker pen. Ensure your chosen location has water supply pipes running through the wall.
Besides the outline of the shower panel, mark where any screws, bolts, and pipes emerge from the shower panel. You can use a spirit level to find the perfect horizontal and vertical planes at the top and sides of the shower panel before marking it.
2. Drill the mounting holes
With the drill in a horizontal position, drill the holes in the marked positions, making sure you don’t damage the wall or any parts underneath it.
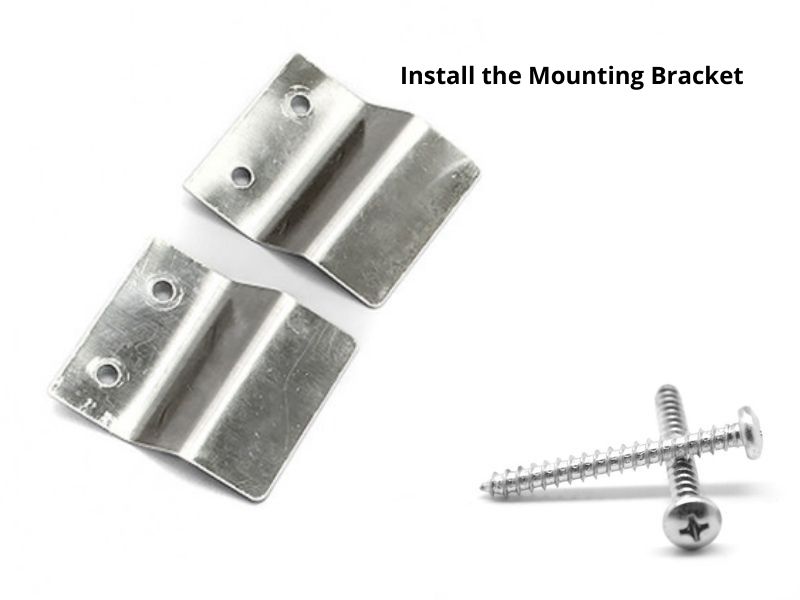
3. Install the mounting bracket
Instal the mounting bracket using the screws provided and the drilled holes on the wall. The type of mounting bracket depends on the material of your wall.
For most types of walls made of materials such as tiles, concrete, or glass, the provided mounting brackets will work just fine. If not, you can buy a mounting bracket at your local hardware store.
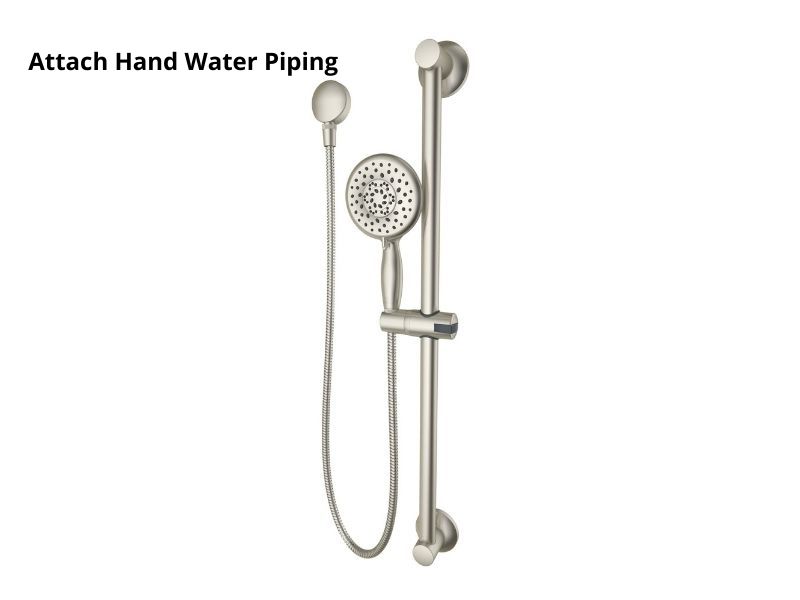
4. Attach hand water piping
The hand shower hose of the shower panel is to be attached to the outlet from the side of the panel. This should be a slow and gradual process to avoid damaging the panel. Tighten the screws which hold the outlet.
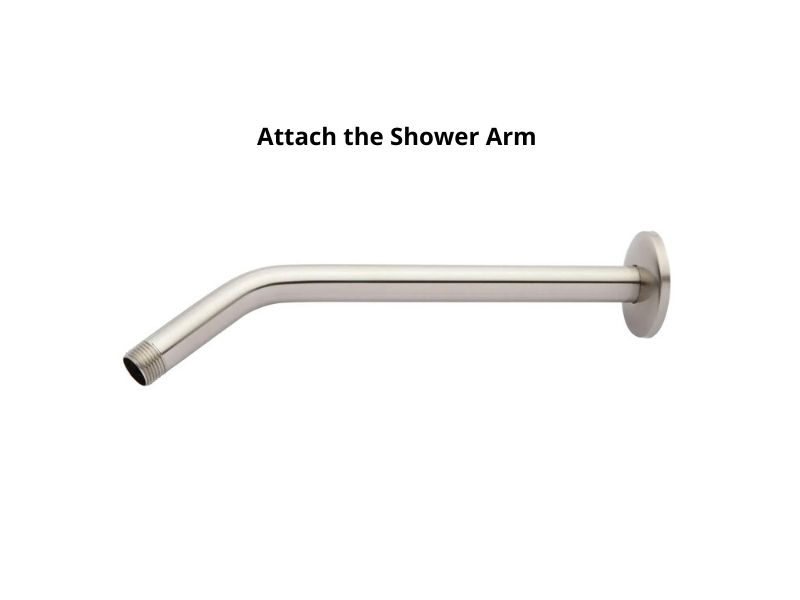
5. Attach the shower arm (if separate)
If a separate shower arm for the rainfall shower head is provided, you should attach it to the rest of the shower panel by inserting its end into the panel and twisting it until it’s tight enough. You should wrap a piece of cloth around it and then use a wrench to tighten it some more. The cloth is to preserve the look of the panel.
After that, add the shower head by threading it into place. This will often take clockwise twists of the shower head.
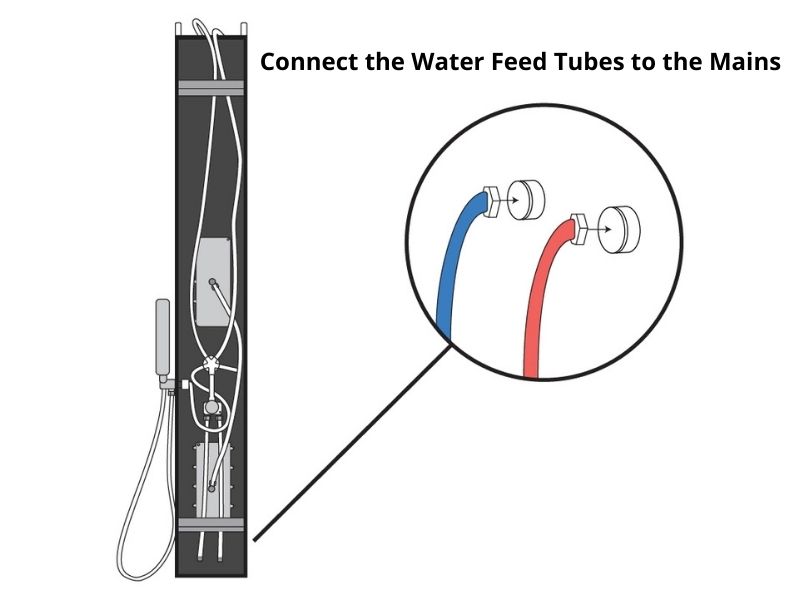
6. Connect the water feed tubes to the mains
The shower panel will have two feed tubes in red and blue color. These are usually the standard half-inch (½”) size used in the US and most countries around the world. The red one goes to the red or hot inlet of the mains water supply, while the blue one goes to the blue or cold water inlet.
After this, open the water supply while keeping the shower panel’s jets off to check for leaks. Turn on the outlets of the shower panels, preferably one after the other, also checking for leaks. If you notice any leakages, tighten or seal the parts as appropriate. Joints are to be tightened, while leaks on the body of the pipe are to be sealed with the plumber’s tape.
To work properly, most shower panels require water pressure between 29 and 72 psi. If you can’t directly measure the water pressure with a gauge, just know that if the water is enough to operate a handheld shower, you won’t experience any issues.
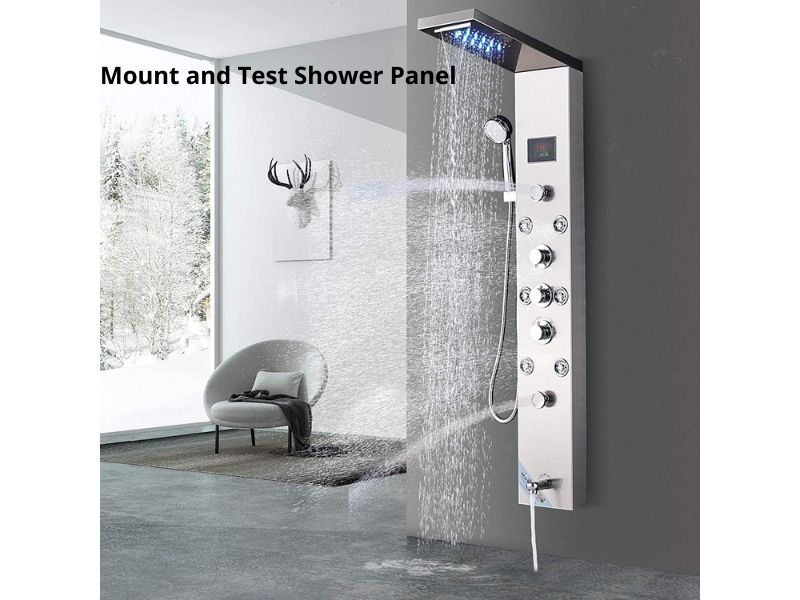
7. Mount the shower panel
Using the markings you made at the start of this exercise, attach the shower panel to the wall, then fasten it into place using the screws provided and the mounting bracket.
Use sealant around the shower panel leaving only the bottom side. This is because you’ll know if there’s a leak inside the panel when in use. Otherwise, run the sealant around the panel and wipe away any excess after you’re done. Some models don’t require any sealant.
When you’re done, clean up any debris on the floor and wait for the silicone sealant to dry up. After that, you can enjoy your shower in your new panel. Always clean your shower panel after every use for a long service. Every week, thoroughly clean the shower panel with the whole shower stall to keep everything clean.