If your toilet shutoff is not working, it may need replacement, especially when it gets old, damaged, or leaky. Their rubber seals fail, and other parts rust away. If tightening them doesn’t stop the leak, simply replace the toilet shut-off valve.
Shut off the water at the main supply, drain the water lines, then disconnect the supply line to the toilet tank. After that, replace the shutoff valve with the new one, then turn on the water to test it. Make sure you have the right type of shutoff valve for this procedure.
A faulty or clogged shutoff valve may be the reason you have low water pressure in your shower. Without fixing or replacing it, a shutoff valve can have major effects on your experience using water in the whole house. Luckily, it’s quite easy to fix it.
How do I replace a toilet shutoff valve?
For this guide, you need a new shutoff valve, adjustable wrench, flame-resistant gloves, soldering torch, locking pliers, pipe cutter or hacksaw, penetrating oil, and emery clothing. The procedure is also used when you want to replace the sink shutoff valve.
Replace the toilet shutoff valve in the following steps:
1. Shut off the water at the mains
First, shut off the water where it enters your home. This means locating the position of the mains inlet and turning the water shutoff valve clockwise until it’s tight.
You should also turn off the water heaters. Make sure to turn the gas water heater to the pilot setting before proceeding.
2. Drain all water lines
Open any taps or faucets located below the shutoff valve you need to replace. This can be in the basement or another location. Let the water run out to prevent messing up your floor and workspace once you open the shutoff valve you’ll be working on.
You should also open a faucet at the highest point in the house to balance the air pressure between the two points.
3. Disconnect the toilet supply line
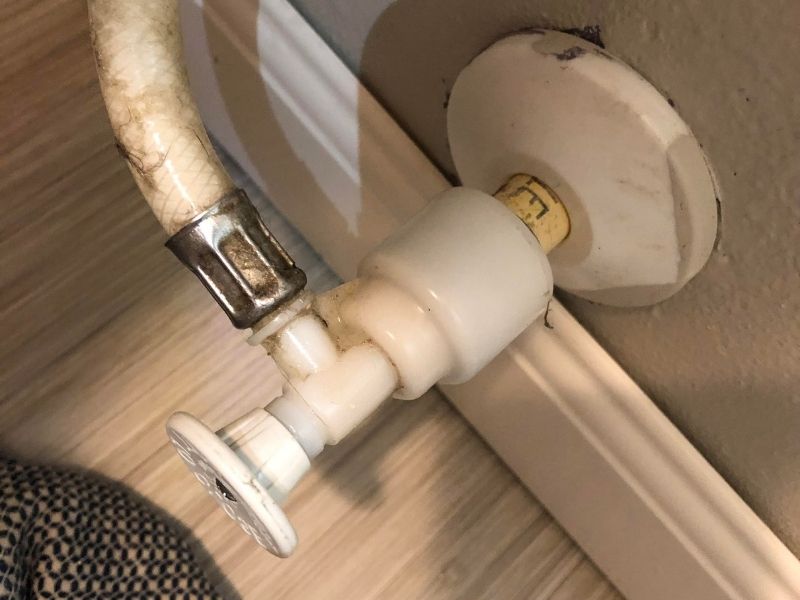
Use a wrench or pair of pliers to turn the nut holding the supply line to the shutoff valve counterclockwise until it comes off. The toilet supply line is the pipe running from the shutoff valve to the top or side of the toilet tank.
The supply line might have some water in it. Place a container under it to collect the water and prevent it from spoiling the floor.
4. Remove the old toilet cutoff valve
For sweat shutoff valves, solder or cut off the pipe right next to the shutoff valve, then remove the valve.
For threaded shutoff valves, simply hold the pipe with pliers, then unscrew the shutoff valve with a crescent wrench. A compression shutoff valve also requires unscrewing it off the pipe from the mains.
5. Install the new shutoff valve
For a sweat shutoff valve, solder the new valve onto the inlet pipe to install the new valve.
For a threaded shutoff valve, simply screw the new valve to the inlet pipe until tight.
If you have a toilet compression valve, push the new compression nut and ring (ferrule) onto the inlet pipe, followed by the new toilet wall valve. Use a wrench to tighten the shutoff valve while holding the inlet pipe with pliers.
For all types of shutoff valves, ensure you have used plumber’s tape to prevent leaks.
6. Reattach the toilet supply line
Position the pipe from the toilet tank on the toilet supply line valve, tighten it with the hand in a quarter circle, then use a wrench to tighten it further.
7. Turn the water back on
When you’re done with changing the toilet valve, turn the water back on at the mains inlet. Turn the new toilet stop valve on, then check for leaks. If there are no leaks, you did a good job. Otherwise, redo it.
If you can’t carry out these steps for one reason or another, call your plumber to change the toilet shutoff valve. It costs between $60 and $120 to replace the shutoff valve on your own. On the other hand, you can pay as much as $250 for a plumber to replace the shutoff valve for you.
On average, your shutoff valves may need to be replaced every 8 to 10 years. With shutoff valves being among the culprits for showers making roaring noises, fixing them affords you a lot of peace.
Types of Shutoff Valves
Before you can replace toilet water supply valves, you need to know the type of shutoff valve in your house. The three main types of shutoff valves are:
1. Sweat shutoff valve
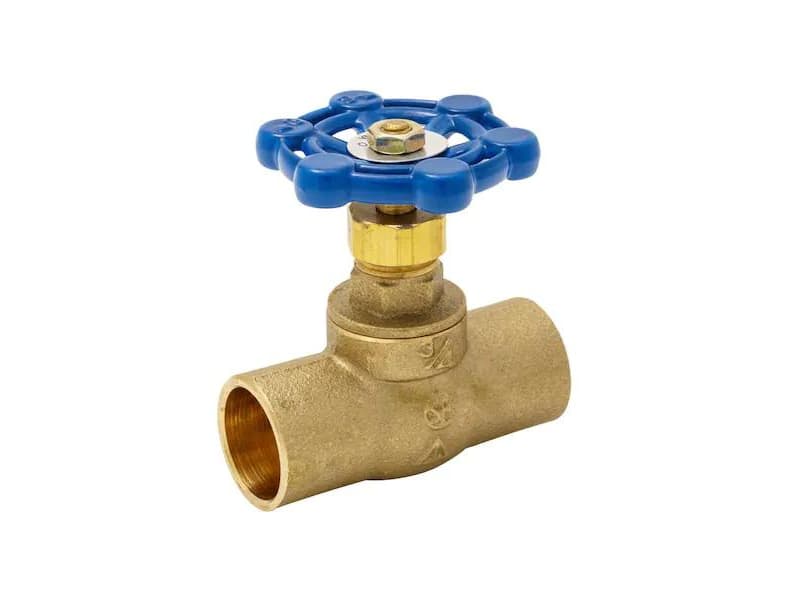
Sweat shutoff valves are soldered with a torch (flame) to the inlet pipes. They’re found on metal pipes such as those made of copper or iron and require soldering to replace them.
2. Threaded shutoff valve
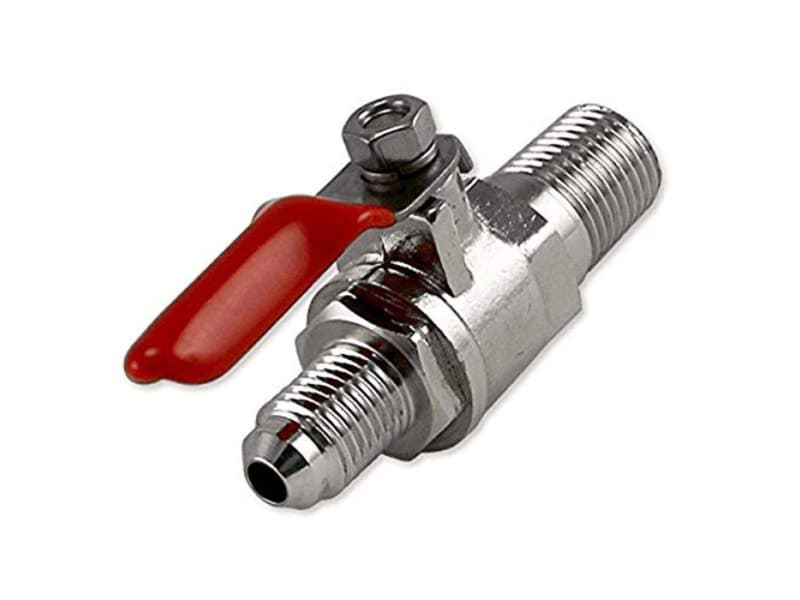
A threaded shutoff valve has threads with which it connects to the inlet pipes. To replace the threaded shutoff valve, simply screw off the old one and then screw on the new one.
3. Compression shutoff valve
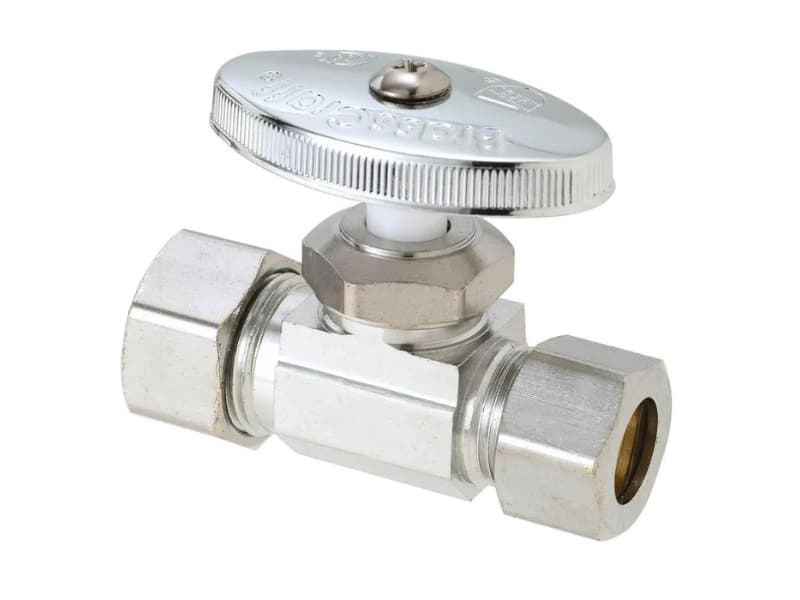
The compression shutoff valve uses a brass compression ring and isn’t soldered or threaded. The compression ring is tightened by compressed and deformed by a nut.
Now that you know your shutoff valves, replacing the faulty ones shouldn’t be an issue from now on.
Frequently Asked Questions
How long does it take to replace a shutoff valve?
An easily accessible shutoff valve takes about an hour to replace, while one hidden behind cabinets or walls can take a few hours to replace.
Can you change a shutoff valve without turning off the water?
You can use a shark bite fitting of the same size as the pipe with the shutoff valve. Start by attaching one end of the shark bite to the shutoff valve, opening the valve, then pushing the shark bite fitting on the pipe as the water runs. After that, you can then shut off the valve.
What to do if the main water valve breaks?
If the main water valve breaks, follow these steps:
- Call a professional plumber.
- Turn off the curbside valve.
- Call your water company.
- Dry up any areas affected by the water.
- Stay safe by staying clear of the water.