Bath bombs elevate your bathing experience by adding fragrance, color, and relaxation. If you’re looking for a specific fragrance you can’t find at the local store, you should consider making your own.
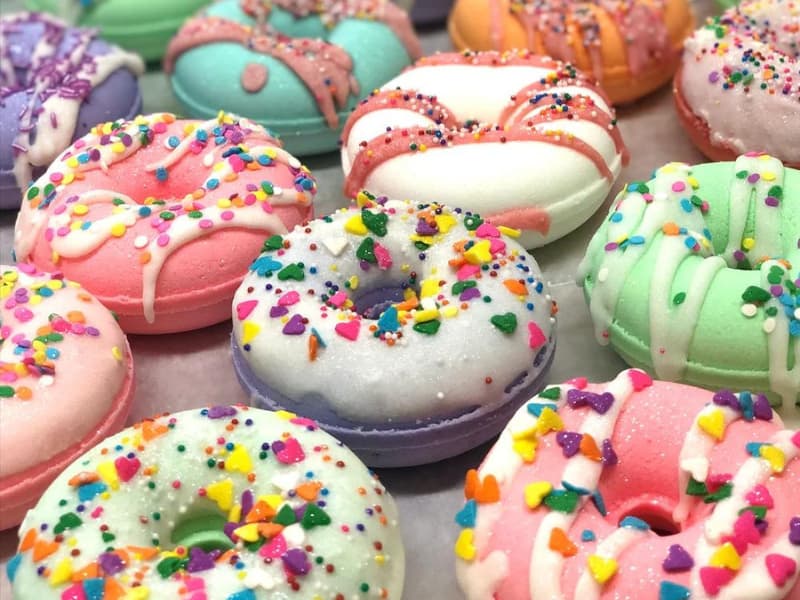
The main advantage of making your bath bombs is that you choose what to add to it. You also get to choose the molds (like the donut-shaped mold below) and other aspects. You can even make some for sensitive skin like I do.
The hard part is avoiding the common mistakes made when making bath bombs. Using too much of one ingredient, adding an ingredient too early or too late, using too much force and others are just some of these mistakes. I compiled a few of them below to make your bath bomb-making journey a bit easier than mine.
Common mistakes when making bath bombs
Crafting your bath bombs can be a delightful and rewarding experience, but it’s not without its challenges. Whether you’re a beginner or a seasoned DIY enthusiast, certain mistakes can derail your fizzy creations.
In my experience, these are some common mistakes to watch out for when making bath bombs:
1. Incorrect Ingredient Measurements
One of the most crucial aspects of bath bomb making is getting the ingredient proportions right. Failing to measure ingredients accurately can result in a bath bomb that doesn’t fizz properly or lacks stability. While you can use such a bath bomb in the shower, it won’t be nice in the bathtub.
Have the right mix of dry and wet ingredients to achieve the perfect balance. I found out that using 1 part citric acid to 2 parts baking soda gives the best results. Also, don’t add citric acid before adding wet ingredients since the fizzing reaction with baking soda will start immediately.
2. Overzealous Water Usage
Adding too much water to your bath bomb mixture can lead to premature fizzing and a lack of structural integrity. Gradually incorporate water or witch hazel into your mixture until it reaches the desired consistency, ensuring it holds together without becoming overly wet.
3. Not Using the Right Binders
Binders like witch hazel, cream of tartar, or rubbing alcohol help hold the ingredients together. Neglecting to use an effective binder can result in a crumbly bath bomb that falls apart. Apply binders sparingly and gradually until you achieve the ideal texture.
4. Inadequate Mixing
Thoroughly mixing the dry ingredients is crucial for an even distribution of color and scent. Inadequate mixing can lead to clumps and uneven results. Take your time to ensure all components are well combined for a consistent bath bomb.
I use a mesh strainer to strain the dry ingredients for a smoother ingredient mix for better results.
5. Choosing the Wrong Mold
The mold you choose shapes the final appearance of your bath bomb. Opting for a mold that is too intricate or too shallow can make the demolding process challenging and may compromise the bomb’s structural integrity.
Choose practical and aesthetically pleasing molds (like these donut bath bombs). Metal molds are better than silicone ones since the latter stick to the bath bombs. Whatever mold you use, add some coconut oil to it before the bath bomb to allow easy removal of the bath bomb when it’s ready. You should also use just enough force during the molding process since too much or too little force will make the bath bomb crumble.
6. Adding Fragrance or Color Too Late
Timing is key when incorporating fragrance oils or colorants. Adding them too late in the mixing process may result in uneven distribution. Integrate them gradually as you combine the dry and wet ingredients to achieve a well-scented, vibrantly colored bath bomb.
Fragrances and colorants are important ingredients in a bath bomb given that they give them their unique color and scent. Depending on the colorants and fragrances you use, you may not need to shower after using a bath bomb.
7. Ignoring Humidity Levels
Bath bomb ingredients are sensitive to humidity. High humidity can cause your mixture to activate prematurely, leading to a fizzing reaction before you even mold the bath bombs. Be mindful of the humidity in your environment, and consider working in a dry space. You should also store bath bombs in a cool and dry place for the same reason.
8. Skipping the Drying Step
Allowing your bath bombs to dry thoroughly is essential for their stability. Skipping or rushing the drying step can produce a soft and crumbly texture. Be patient and let your bath bombs dry in a cool place before handling or packaging them. At least 24 hours is enough for the bath bombs to dry up.
Avoid baking or blowing on the bath bomb for quick drying. Removing them from the mold before they’re dry or drying them too much will also crumble before you use them.
By being mindful of these common mistakes, you can elevate your bath bomb crafting skills and ensure a fizzy, fragrant, and visually stunning bathing experience. Even when you fail a few times, don’t always throw away the bath bombs since most of the ingredients are still usable.